Those of you who follow me on instagram got a little peek of the action on Saturday...

This is a somewhat photo-heavy post (to make up for being MIA for a while!)
So, last time we left off with the most challenging project we'd ever tackled. And it wasn't over yet... we were left with a ton of nails that needed to be dealt with and holes that needed to be patched. Our Friday evening looked like this:

Brad hammered all the misfired nails in while I came behind him with spackle. We had to use a hand sander on many spots because the surface was protruding where some of the nails went in (beadboard is a strange soft and fibrous material, unlike wood).
After everything was sanded smooth and patched, I ran caulk along the seams and we let everything dry overnight. The next morning we came back and sanded over the dried spackle and we were ready to paint.
A few hours later, this project was finally OVER.

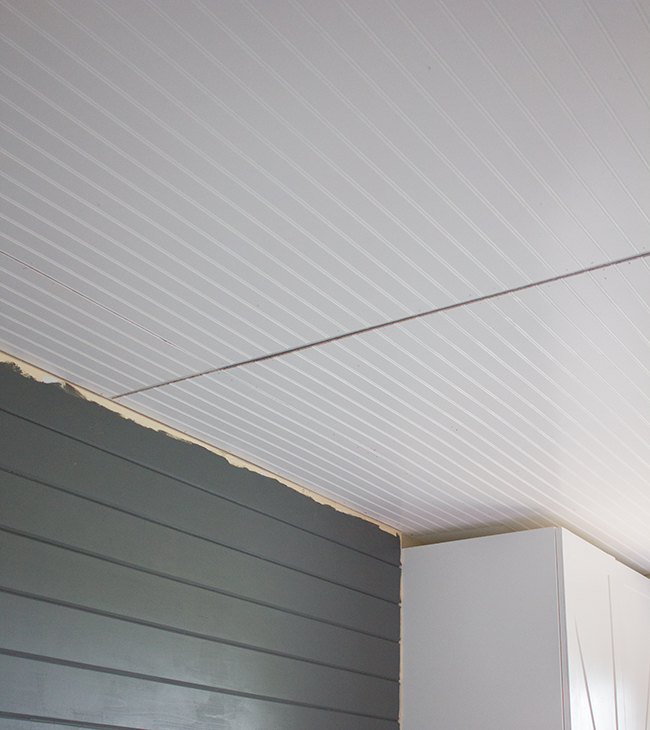
And now we have a pretty new ceiling, ready for some beams.

After that was out of the way, it was onto the next project—floating basket shelves.
The gap between our bed and the wardrobes is too small for a side table, so I opted for something with a smaller footprint, and also used the opportunity to bring in some warmth through texture.
I picked up these water hyacinth bin at The Container Store for $10/ea:

To make them more functional, I decided to add a shelf inside each one using a scrap piece of wood I had in the garage:

After measuring the basket depth and width, I ripped them down to size on the table saw and stained them with one coat of Dark Walnut so they blended in nicely:

Now—how to install them? We threw a few ideas around, and ultimately decided to try drilling a couple long screws from the inside of the wardrobe to the back of the shelf, which would also hold the basket in place.

It totally worked. Here's the inside of the wardrobe:

We also placed a screw on the side of the basket to hold the shelf level which is completely hidden by the basket weave.
The process was repeated on Brad's side:

A couple small screws were placed at the very bottom (from inside of the basket) just to be safe, and after pulling and pushing on them, it's safe to say they are very secure.
We don't keep a lot of stuff near our beds (our old nightstands just had a tiny drawer), but we do like to charge our electronics so Brad decided to make the shelf extra functional and run wiring through the back for our chargers.
First, we drilled a hole at the very bottom of the wardrobe and ran an extension cord through it (this will be hidden in a second....)

I plugged the charger into the extension cord and Brad drilled a small hole in the wardrobe, just large enough to fit the end of the charger through:


The handle opening at the bottom was bothering me, so I cut a piece of scrap plywood to size, stained it and placed it at the bottom (it's a tight fit inside the basket so it won't go anywhere), and now we have a flat place to set our drinks (or whatever):

Then came the lamps.
I picked up two of these beauties on Amazon for $147 shipped back in January:

It looks like the price has gone up a little since then, but I still think they're by far the best deal around for that style.
Here they are in the flesh:

They were a lot more rustic than depicted in the photo (rust being the key word). I can't tell if it was intentional or if someone just left them sitting outside for a few decades, but I wasn't sure how I felt about it. Brad wanted to keep them as is, but I worried it was a little too shabby so I gave them a couple light coats of black satin spray paint just to give it a slightly cleaner look.
When they were dried and ready, it was time to hang them. There were a couple hole notches in the back so we measured, marked and drilled in a couple screws, then Brad made a hole near the bottom for the wire.

Earlier we had picked up a touch pad dimmer, so instead of flipping a switch (which this lamp did not come with) it would remain plugged in full time, and we'd use the touch pad to control it.
We decided to mount the dimmer on the wardrobe behind the basket so it wouldn't be easily visible—which also meant we had to unscrew the basket to drill another hole behind it:

The hole had to be large enough for the end plug to pass through. Here's a shot of it from the inside of the wardrobe:

So that just plugs into the extension cord we ran earlier for the phone charger. Brad still has to organize the cables, but everything is hidden behind the wire baskets so you can't see it when you open up the wardrobe.
I used velcro to mount the dimmer and it works like a charm:

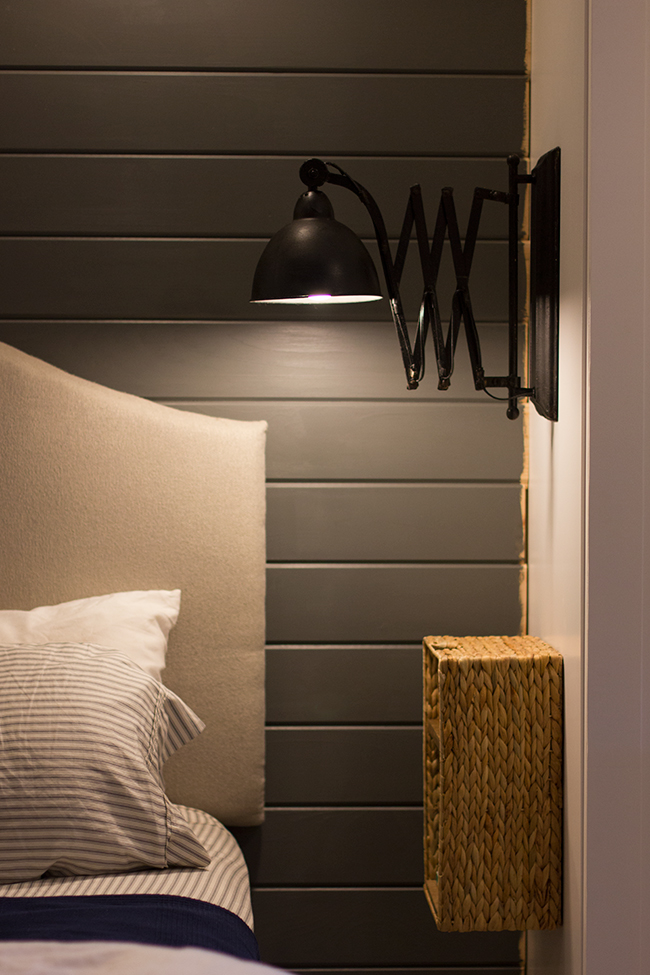
After the wiring was taken care of and we were ready to mount the light, we realized that it had no extension control. Unless you tilted it backwards, it would be fully extended, so I used a small zip tie (painted black) to hold it in:

I can still move the zip tie down and let it extend whenever I want to, but it's honestly not at all necessary so it will probably just stay like this.

I love the way they turned out! Ignore the distracting unfinished plank wall, we can't finish it off with quarter round for a while.
The final element to our bedside storage are these wire and canvas baskets I picked up from Walmart (for just $13/ea!)

I love the added touch of the chalkboard. I'm a little obsessed with these baskets.
They are perfect for storing/charging my laptop and iPad, which I frequently use in bed at night:

How about some shots with everything all put together?


Don't mind the weak basket storage styling... I just threw a few practical things in here for now so you get an idea of all the possibilities, maybe I'll get more creative for the reveal...


Here's the lights in action:

My absolute favorite part is the improved atmosphere set by all of the new light sources. There's just a completely different feeling in the room since they've been installed.

The cozy factor is slowly steppin' up and it's slowly becoming my favorite space in the house.
And the kitties', too...

Any time of day you can almost always find either Susie or Biscuit in that spot (sometimes both if everyone's getting along).
At this point I'd say we're just about halfway done now that a few big projects have been marked off the list (wardrobe installation, plank wall, and ceiling). The next two major hurdles are the ceiling beams and paneled wall—I think both will make a huge impact in the room.
Time to start planning our next project... I'll check back in soon!